Exercise 6: Fitting the frame to the subject
(4 photographs)
For this exercise you need something clear in appearance and compact in shape. It must also be accessible, from close to and from a distance, as the idea of this project is to experiment with how much space it takes up in th frame of the viewfinder.
One of your continuing activities is to note down subject and settings. Now is the time that you will find it useful. An easy subject would be a car, or a person, or a handbag, but you maybe think of something more imaginative than these.
Plan to take at least four different photographs of the subject you have chosen. For the first get yourself into a position where you can see the entire subject in the viewfinder, and photograph it as you normally would - without taking too much time to consider the composition. You will use this shot as the baseline for the others that follow. Make the way that you hold the camera suit the dimensions of the subject. If it is upright, for instance, make a vertical picture.
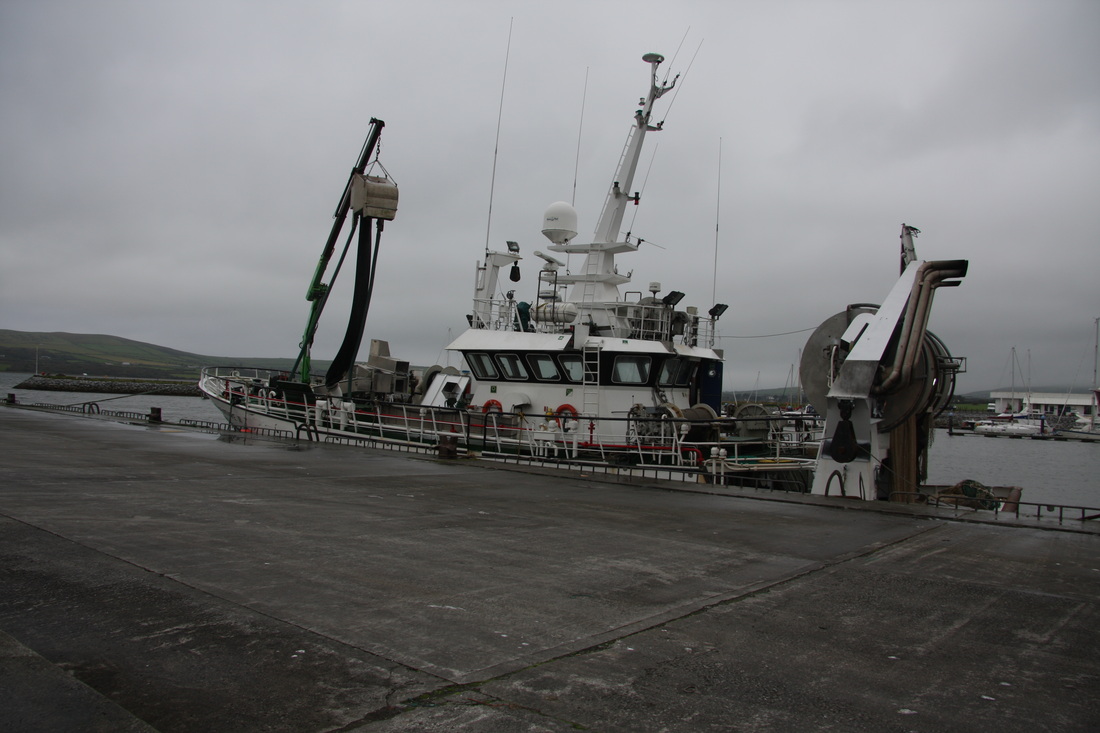
Photo 1 - Canon EOS 40D, F/6.3, 1/160s, ISO-100, 17mm
With this done, take a lot of more care over the second picture.
Move in and around to make the subject fit the frame as tightly as
possible - right up the edges if you can but not beyond. Even consider
tilting the camera so that the subject fits in the frame even more
tightly.
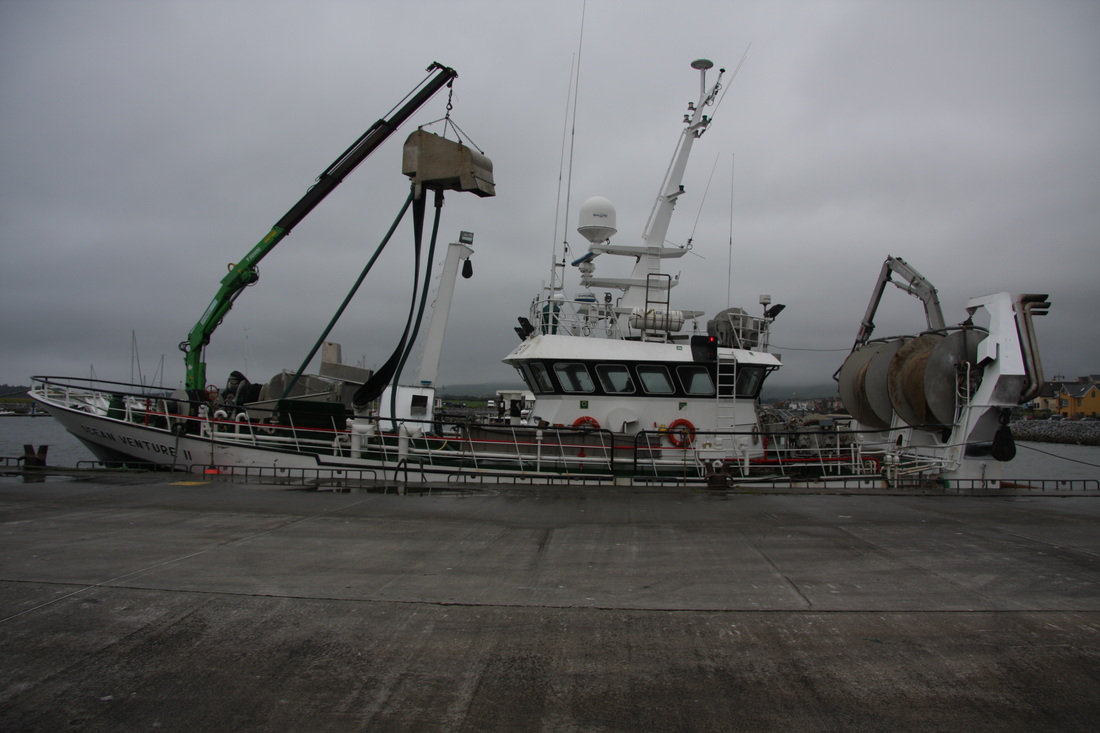
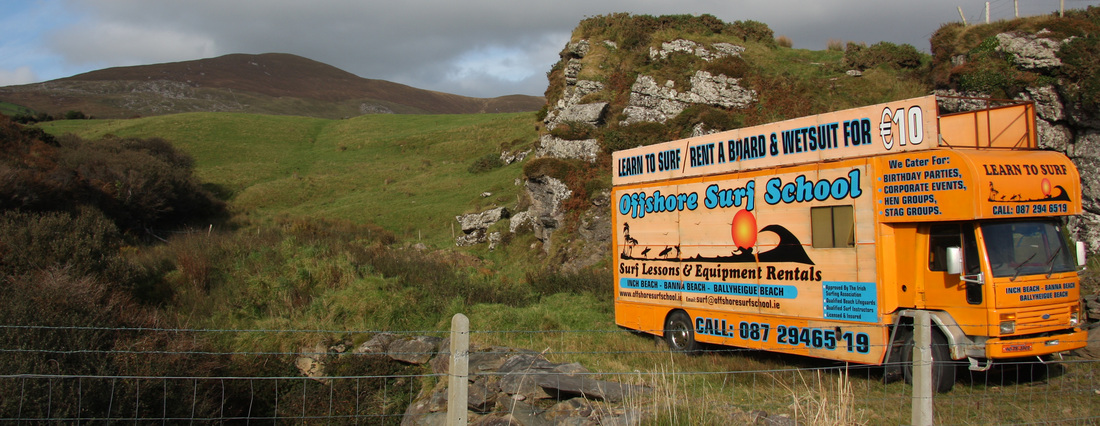
Photo 2 - Canon EOS 40D, F/6.3, 1/200s, ISO-100, 17mm
For the third version, close in so that you can see none of the edges of the subject and photograph just a part of it.
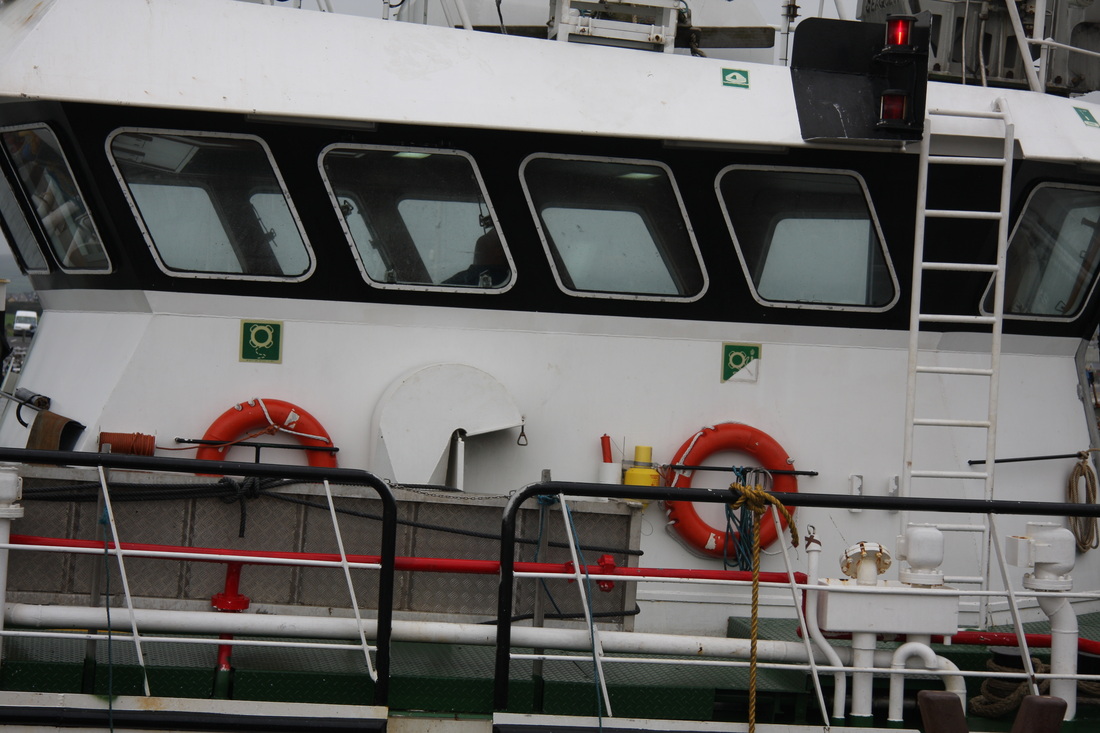
Photo 3 - Canon EOS 40D, F/6.3, 1/125s, ISO-100, 59mm
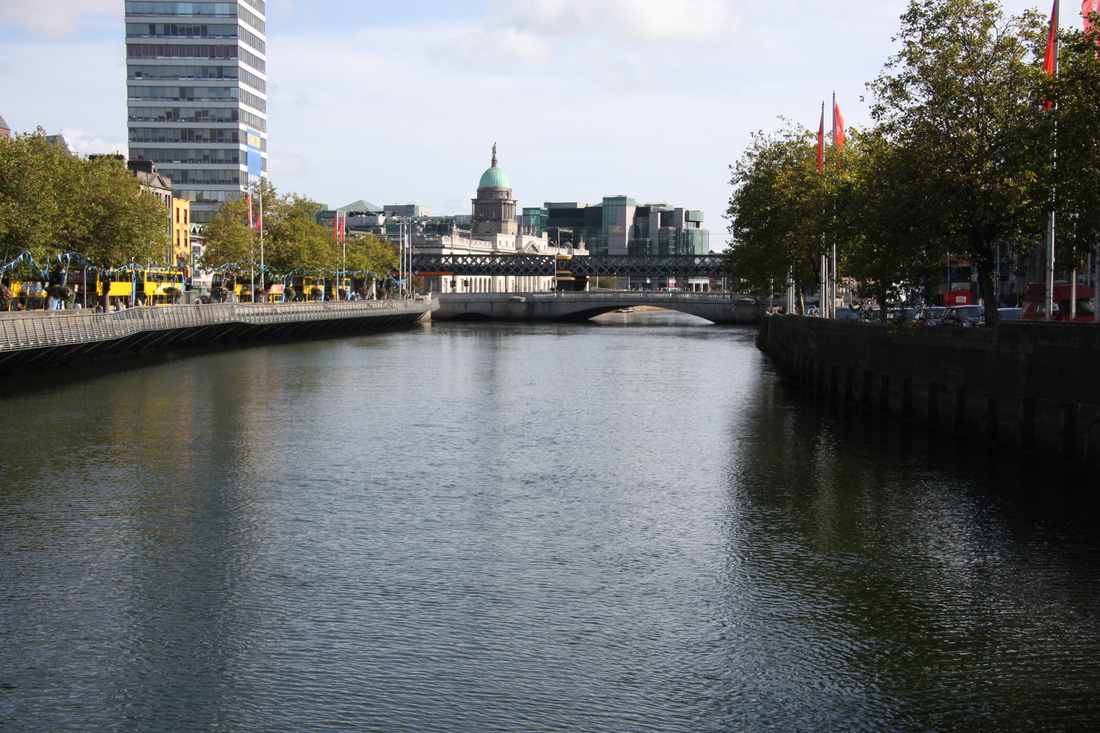
Finally, for the last shot, move right back until the subject occupies only a small part of the frame - a quarter or less - and do your best to make a composition that stresses the surroundings. If your subject is easy to move, consider placing it more effectively within its surroundings.
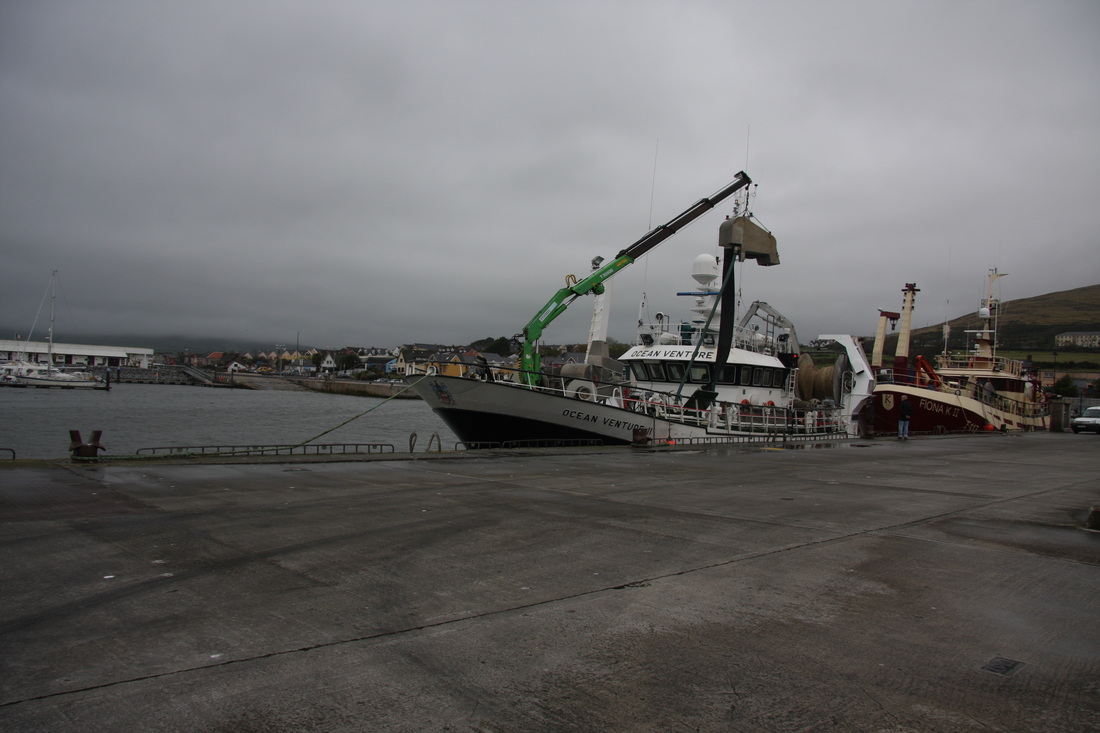
Photo 4 - Canon EOS 40D, F/6.3, 1/200s, ISO-100, 17mm
When you have the results then compare them. Although your choice of subject matter will be different, there should be some similarity in the proportions of the photographs.
My feedback
Photo 1:
The first image was a straightforward ‘point-and-shoot’ image where I made very little conscious decisions about framing the image other than that I wanted to take a picture of the subject in front of me. It is a just a quick snap shot.
Photo 2:
The second picture was my ‘fill the frame’ shot where the subject was very important in the frame. This photograph fills the frame with the subject.
Photo 3:
The third photo was the close up version. I moved in really close and shot just a small detailed part of the boat. I think this photography is quite interesting.
Photo 4:
The fourth photo, my final shot was from distance so that the subject took up a small proportion of the frame. I couldn’t move back any further and my widest lens was 17mm. Therefore, this final shot is not exactly what I was looking for.
* Because I was not very happy with photo 3 and 4 I decided to try a few more subjects. Please click on the photograph to see the photo in a bigger size.


My feedback
After reviewing all my shots I learned that I have to take more time to look through the viewfinder and moving the camera around (maybe moving to a completely different spot). By taking more time and checking every part of the viewfinder when composing a shot will likely to give better result. Before I used to only concentrate on the actual subject I was shooting with the background of the image often ignored, this resulted in messy photographs due to unwanted things into the corners of my shots. By shooting the subject at different ranges I have also learnt that one subject can be interpreted in many different ways. With a bit of thought of the subject the result could be a different photograph with a creative look.
Exercise 6 - 2nd part
Now make a pair of L frames or use four strips of card and place them over the print. Move them around to crop the picture - look for alternative possibilities. If you prefer to do this on-screen with a digital image, then use the cropping tool in whatever software you have. Be careful to safe the original full image and make copies for the cropped versions.
Now make a pair of L frames or use four strips of card and place them over the print. Move them around to crop the picture - look for alternative possibilities. If you prefer to do this on-screen with a digital image, then use the cropping tool in whatever software you have. Be careful to safe the original full image and make copies for the cropped versions.
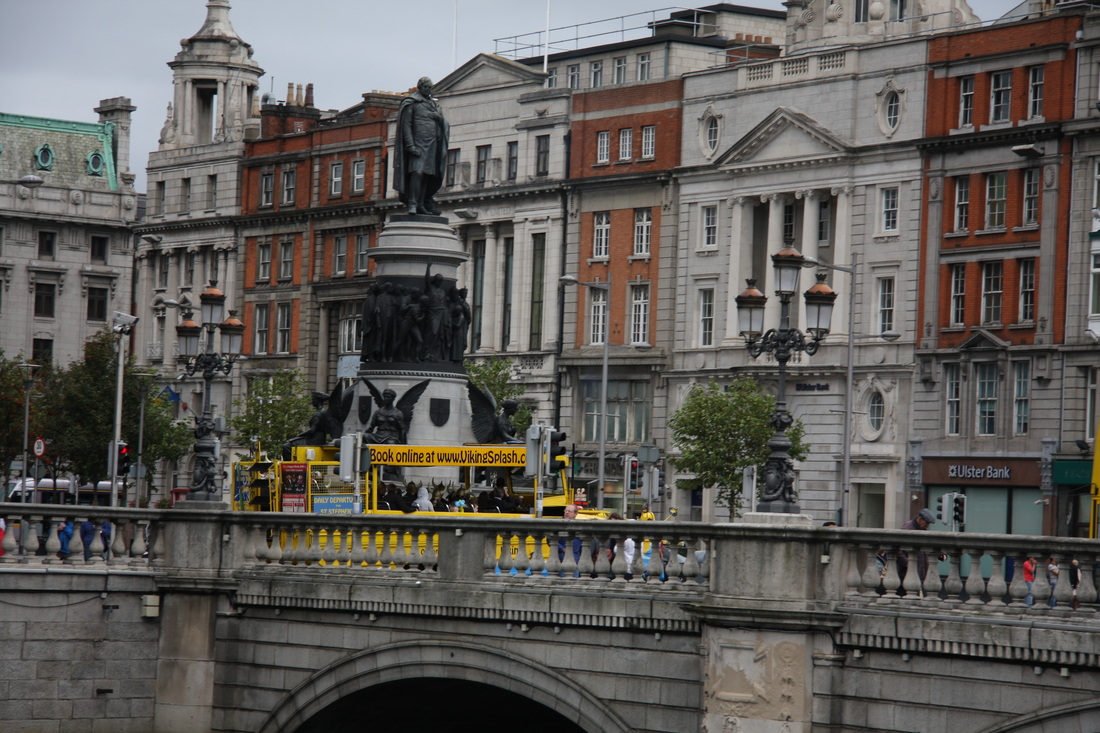
After reviewing my final images I choose to crop the photo with the
orange bus. I had the feeling this is the best photography to try to out
the cropping tool in Photoshop
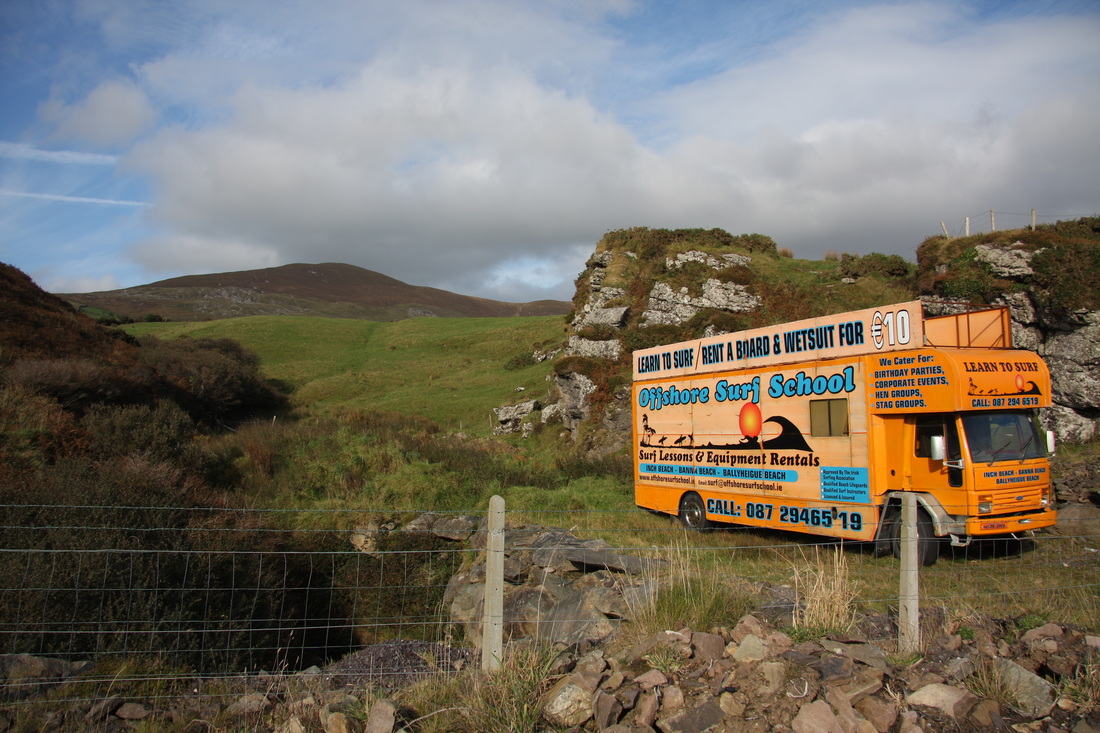
Orginal photograph
Crop 1: Narrow Horizontal:
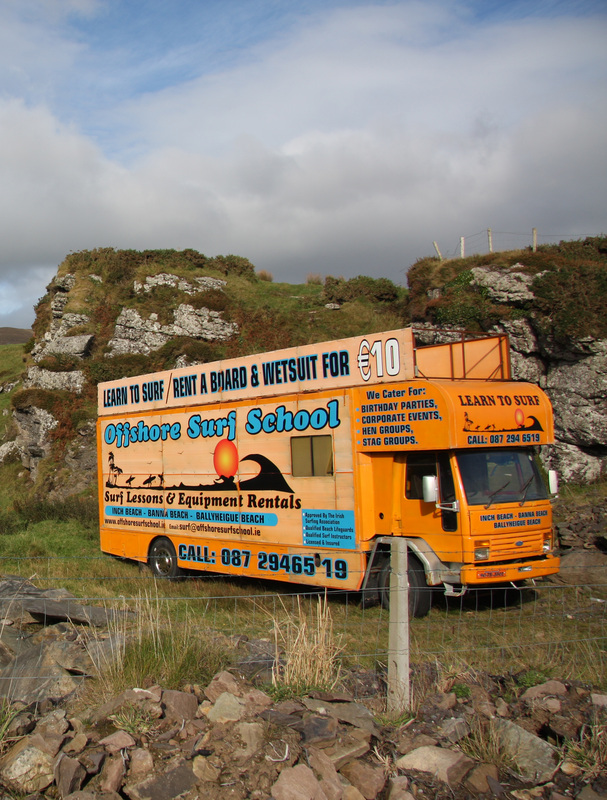
Crop 2: Vertical
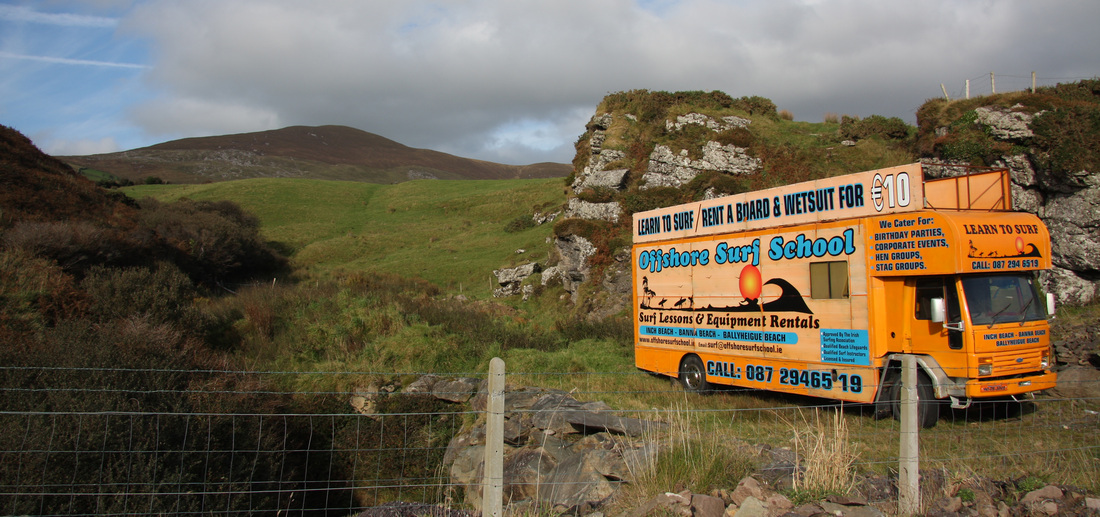
Crop 3: wide Horizontal
This still gives the background context in a nature area but places more focus on the bus than the original photo.
As I always love to try a project out on other photo´s as well here
are a few more photographs were I used the cropping tool in Photoshop
Please click on the photo´s for a bigger size of the photograph.
Please click on the photo´s for a bigger size of the photograph.
Original photo


Original photo


My feedback
Although I have some experience with Photoshop I never used te crop tool a lot. Now I see that I want to use this tool more often as I like the result. This exercise was very interesting and I think I learned quite a lot in terms of composition.
Although I have some experience with Photoshop I never used te crop tool a lot. Now I see that I want to use this tool more often as I like the result. This exercise was very interesting and I think I learned quite a lot in terms of composition.